Operating and maintaining an RV can be exceptionally rewarding, but like all vehicles, wear and tear is inevitable. One common issue RV owners face is chips on the body of their camper. These can happen due to road debris, harsh weather conditions, or accidental bumps. Fixing these issues can enhance the look of your RV and prevent further damage. Here are a few tips to get you started!
Understanding the Repair Process
When dealing with chips, understanding the maintenance process is crucial. A typical repair involves cleaning the damaged area, applying a filler, sanding it down for smoothness, and then painting for a seamless blend with the rest of your RV’s body.
Choosing the Right Tools and Materials
Choosing quality tools and materials for your repair job helps ensure a durable fix that blends naturally with your RV’s exterior. Use a high-quality chip filler designed for vehicle repairs; industry-approved sandpaper to help achieve a smooth surface; and color-matched paint to ensure a flawless finish.
Safety Precautions
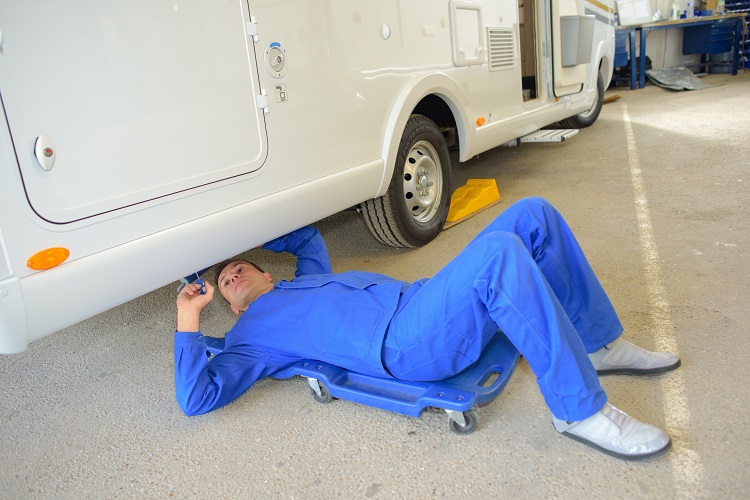
Safety should always be a top priority when carrying out repairs on your RV. We always recommend using protective gear, such as gloves and goggles, when handling tools and chemical products. You’ll also want to ensure you work in a well-ventilated space to avoid inhaling harmful fumes from paint or solvents.
Professional Help
While DIY techniques can help repair minor chips, you’ll want to seek professional help to fix major problems. Professionals possess expert knowledge in perfect color matching, guaranteeing that repaired parts blend seamlessly with the rest of your vehicle.
If you have questions or want to get personalized RV shopping tips, visit Stagecoach RV Sales. Our expert staff is happy to help however we can. Our dealership is located in Peru, IN.
